¶ UniFi Network Integration
The UniFi Network Integration app for Hubitat allows you to connect to a UniFi Network site to access information about connected client devices (devices on your network) and UniFi devices (switches, APs, etc.) on that UniFi site.
¶ Requirements
This integration requires UniFi Network Application 9.0.108 or newer, although recent production versions of the application are recommended. (We welcome feedback on beta or Early Access versions of UniFi Network but do not recommend them for production use with this integration.)
¶ Installing the UniFi Network Integration
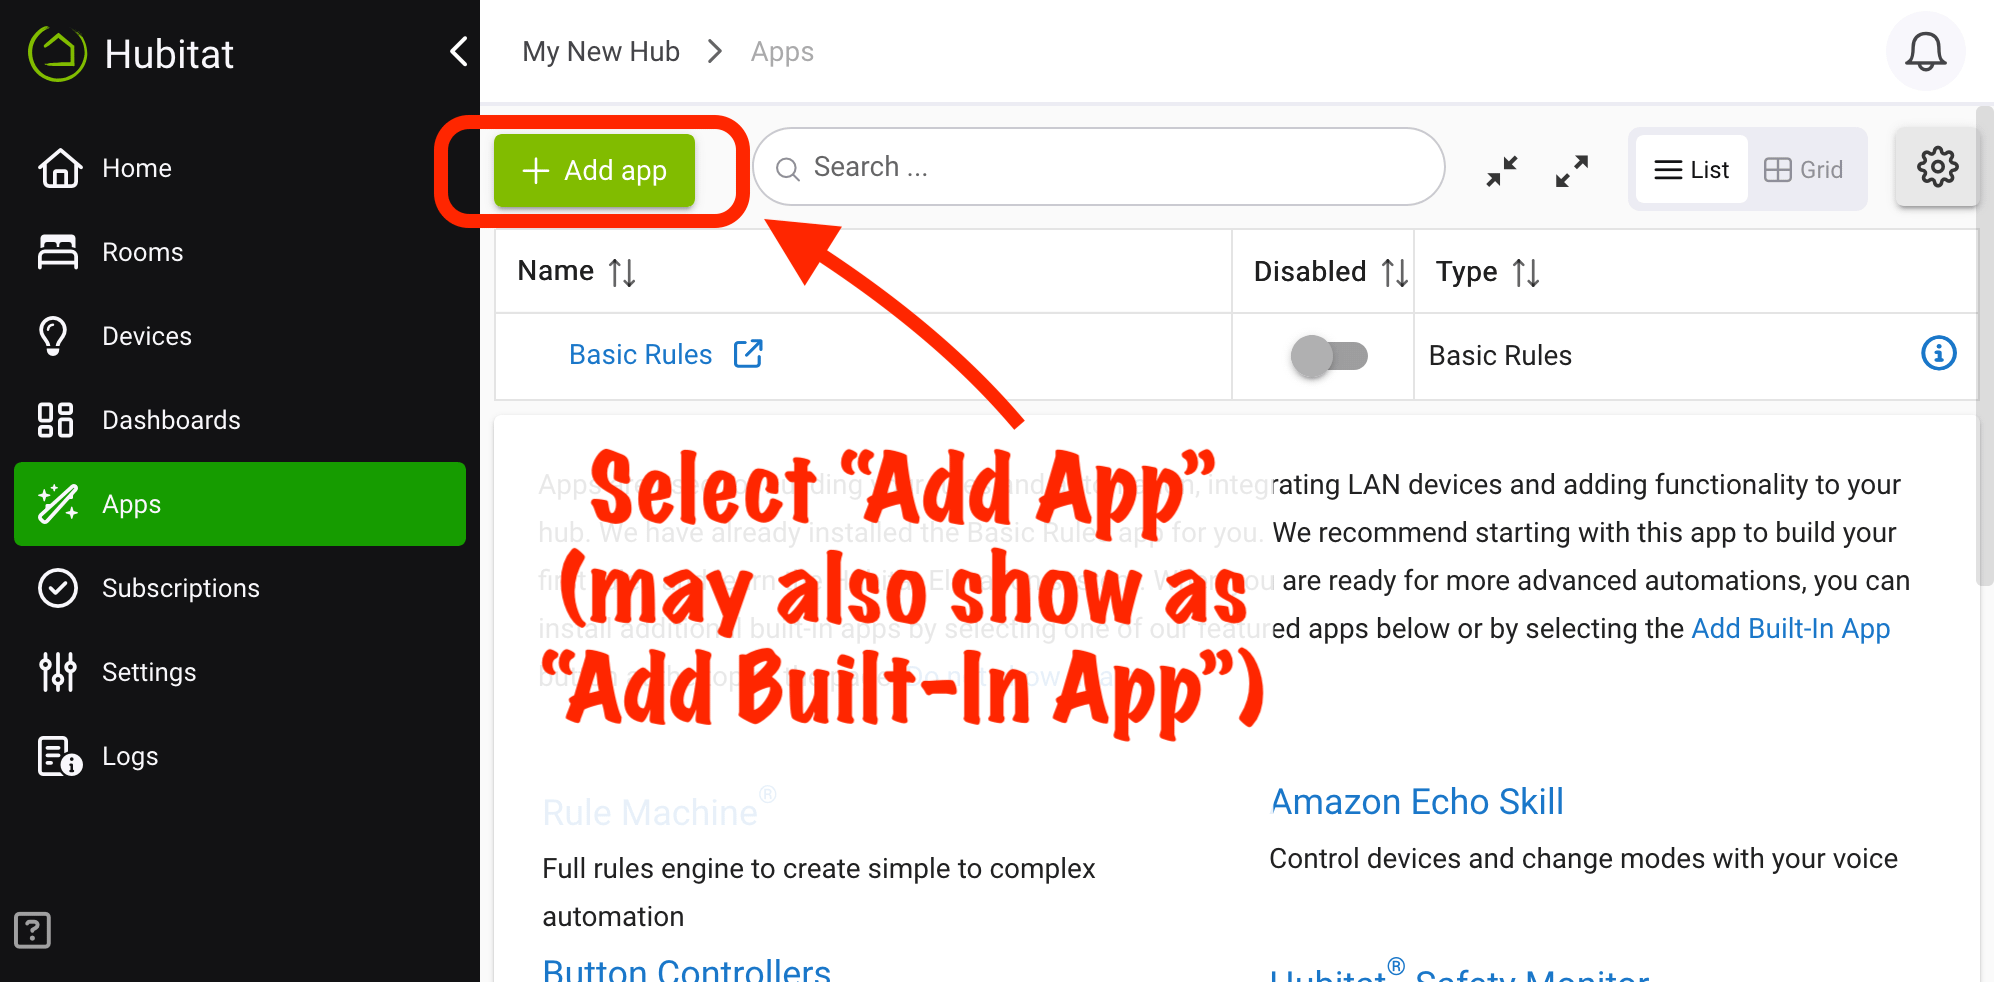
- From the sidebar of your hub, navigate to Apps and select Add Built-In App:

- Select UniFi Network Integration from the list of built-in apps.
¶ Configuration
Either install the app (see above) or navigate to Apps and open your installed instance of the UniFi Network Integration app, then continue with the steps below.
- Under UniFi Network application IP address, enter the IP address of your UniFi Network application, typically a UniFi console hosting this application on your LAN.
- Enter only the IP address (e.g., 192.168.100.1). Do not enter the protocol. HTTPS is used internally by the integration.
- Under API key, Enter your UniFi Network API key. To generate this key, log into your UniFi console on the web and open the UniFi Network application, then:
a. Navigate to *Settings > Control Plane > Integrations.
b. Provide a name for your new API key, such as "Hubitat UniFi Network Integration" in the API Key Name field, select an expiration time period if desired (if not "Never Expires," you will need to remember to renew and reconfigure the integration before this time), and then select Create API key.
c. Save the key that will appear, either by manually copying and pasting or using the Copy Key option. This is the key you need to provide for the Hubitat integration in this step. (The key will no longer be displayed ater this step. If you lose the key, you will need to generate a new key using the steps above.)
d. Some versions of the Network or Protect apps may have a Done or Update button you need to select to save your changes; follow any directions you may see on your screen or in UniFi documentation. - Select Next and follow the prompts to select your UniFi site. After selecting the site, you will be returned to the main page of the app, where you can add clients (client devices on your network) or UniFi devices (switches, APs, etc.).
If you experience problems with setup, verify that your information is correct, and check Logs for errors.
¶ Usage
The UniFi Network integration offers the ability to add two different types of devices to your hub:
- UniFi Network clients, also simply called clients or client devices, representing client devices on your UniFi network. These are probably most devices connected to your network: laptops, tablets, smartphones, printers, etc. Select Add Network Client Devices on the main page of the app to add these devices.
- UniFi Network devices, also simply called devices or (our preference to avoid ambiguity) UniFi devices, representing UniFi devices such as switches or access points, as opposed to regular network clients (see above). Select Add UniFi Network Devices on the main page of the app to add these devices.
UniFi exposes different information and options for each kind of device, and this is reflected in the integration app, where the two kinds of devices are listed separately for adding to your hub, and the events (current states) and commands for the two types of devices differ.
Events (and current states) available on client devices include:
clientName: Name as reported by UniFi NetworkconnectedAt: Timestamp of this value as reported by UniFi Network (or most recent value if not currently connected)ipAddress: IP address of this client (or last known if not currently connected)macAddress: MAC address of this clientpresence: set topresentif device is in list of currently connected UniFi Network clients, otherwisenot present.
On UniFi Network devices:
- Events (and current states) include:
ipAddress: IP address of this device (or last known if not currently connected); UniFi has not documented the specific expectation as far as we can tell, but our testing shows that this is the internal IP address for most devices but the public IP address for gateway-type devicesmacAddress: MAC address of this devicenetworkStatus: set to the state of the device as reported by UniFi Network, one ofonline,offline,pendingAdoption,updating,gettingReady,adopting,deleting,connectionInterrupted, orisolated.
- Commands include:
restart(): restarts the devicepowerCyclePort(number): power cycles PoE on the specified port number (this, of course, will only work on devices that have PoE and have it on the specified port)
¶ Polling
The UniFi Network application/console does not report data to Hubitat in real time, i.e., with every change. Hubitat must poll UniFi Network for data. After any poll, Hubitat will compare the data returned with devices you have added to the hub and generate events (updating "Current States") as necessary.
Select your desired value from the Polling interval option on the main page of the app to change this frequency. Tips:
- We suggest the longest interval that works for your needs, although keep in mind that longer intervals may miss fast changes back and forth (e.g., a device briefly reporting offline/not present, although if the device remains in some new state, the data will be fetched on the next poll; excessively frequent polling is rarely necessary).
- A "Refresh" on any client device or UniFi device can be run manually (or automated) to fetch new data for all devices (not just the selected device). This may be useful if polling is disabled but is generally not necessary otherwise.